Background
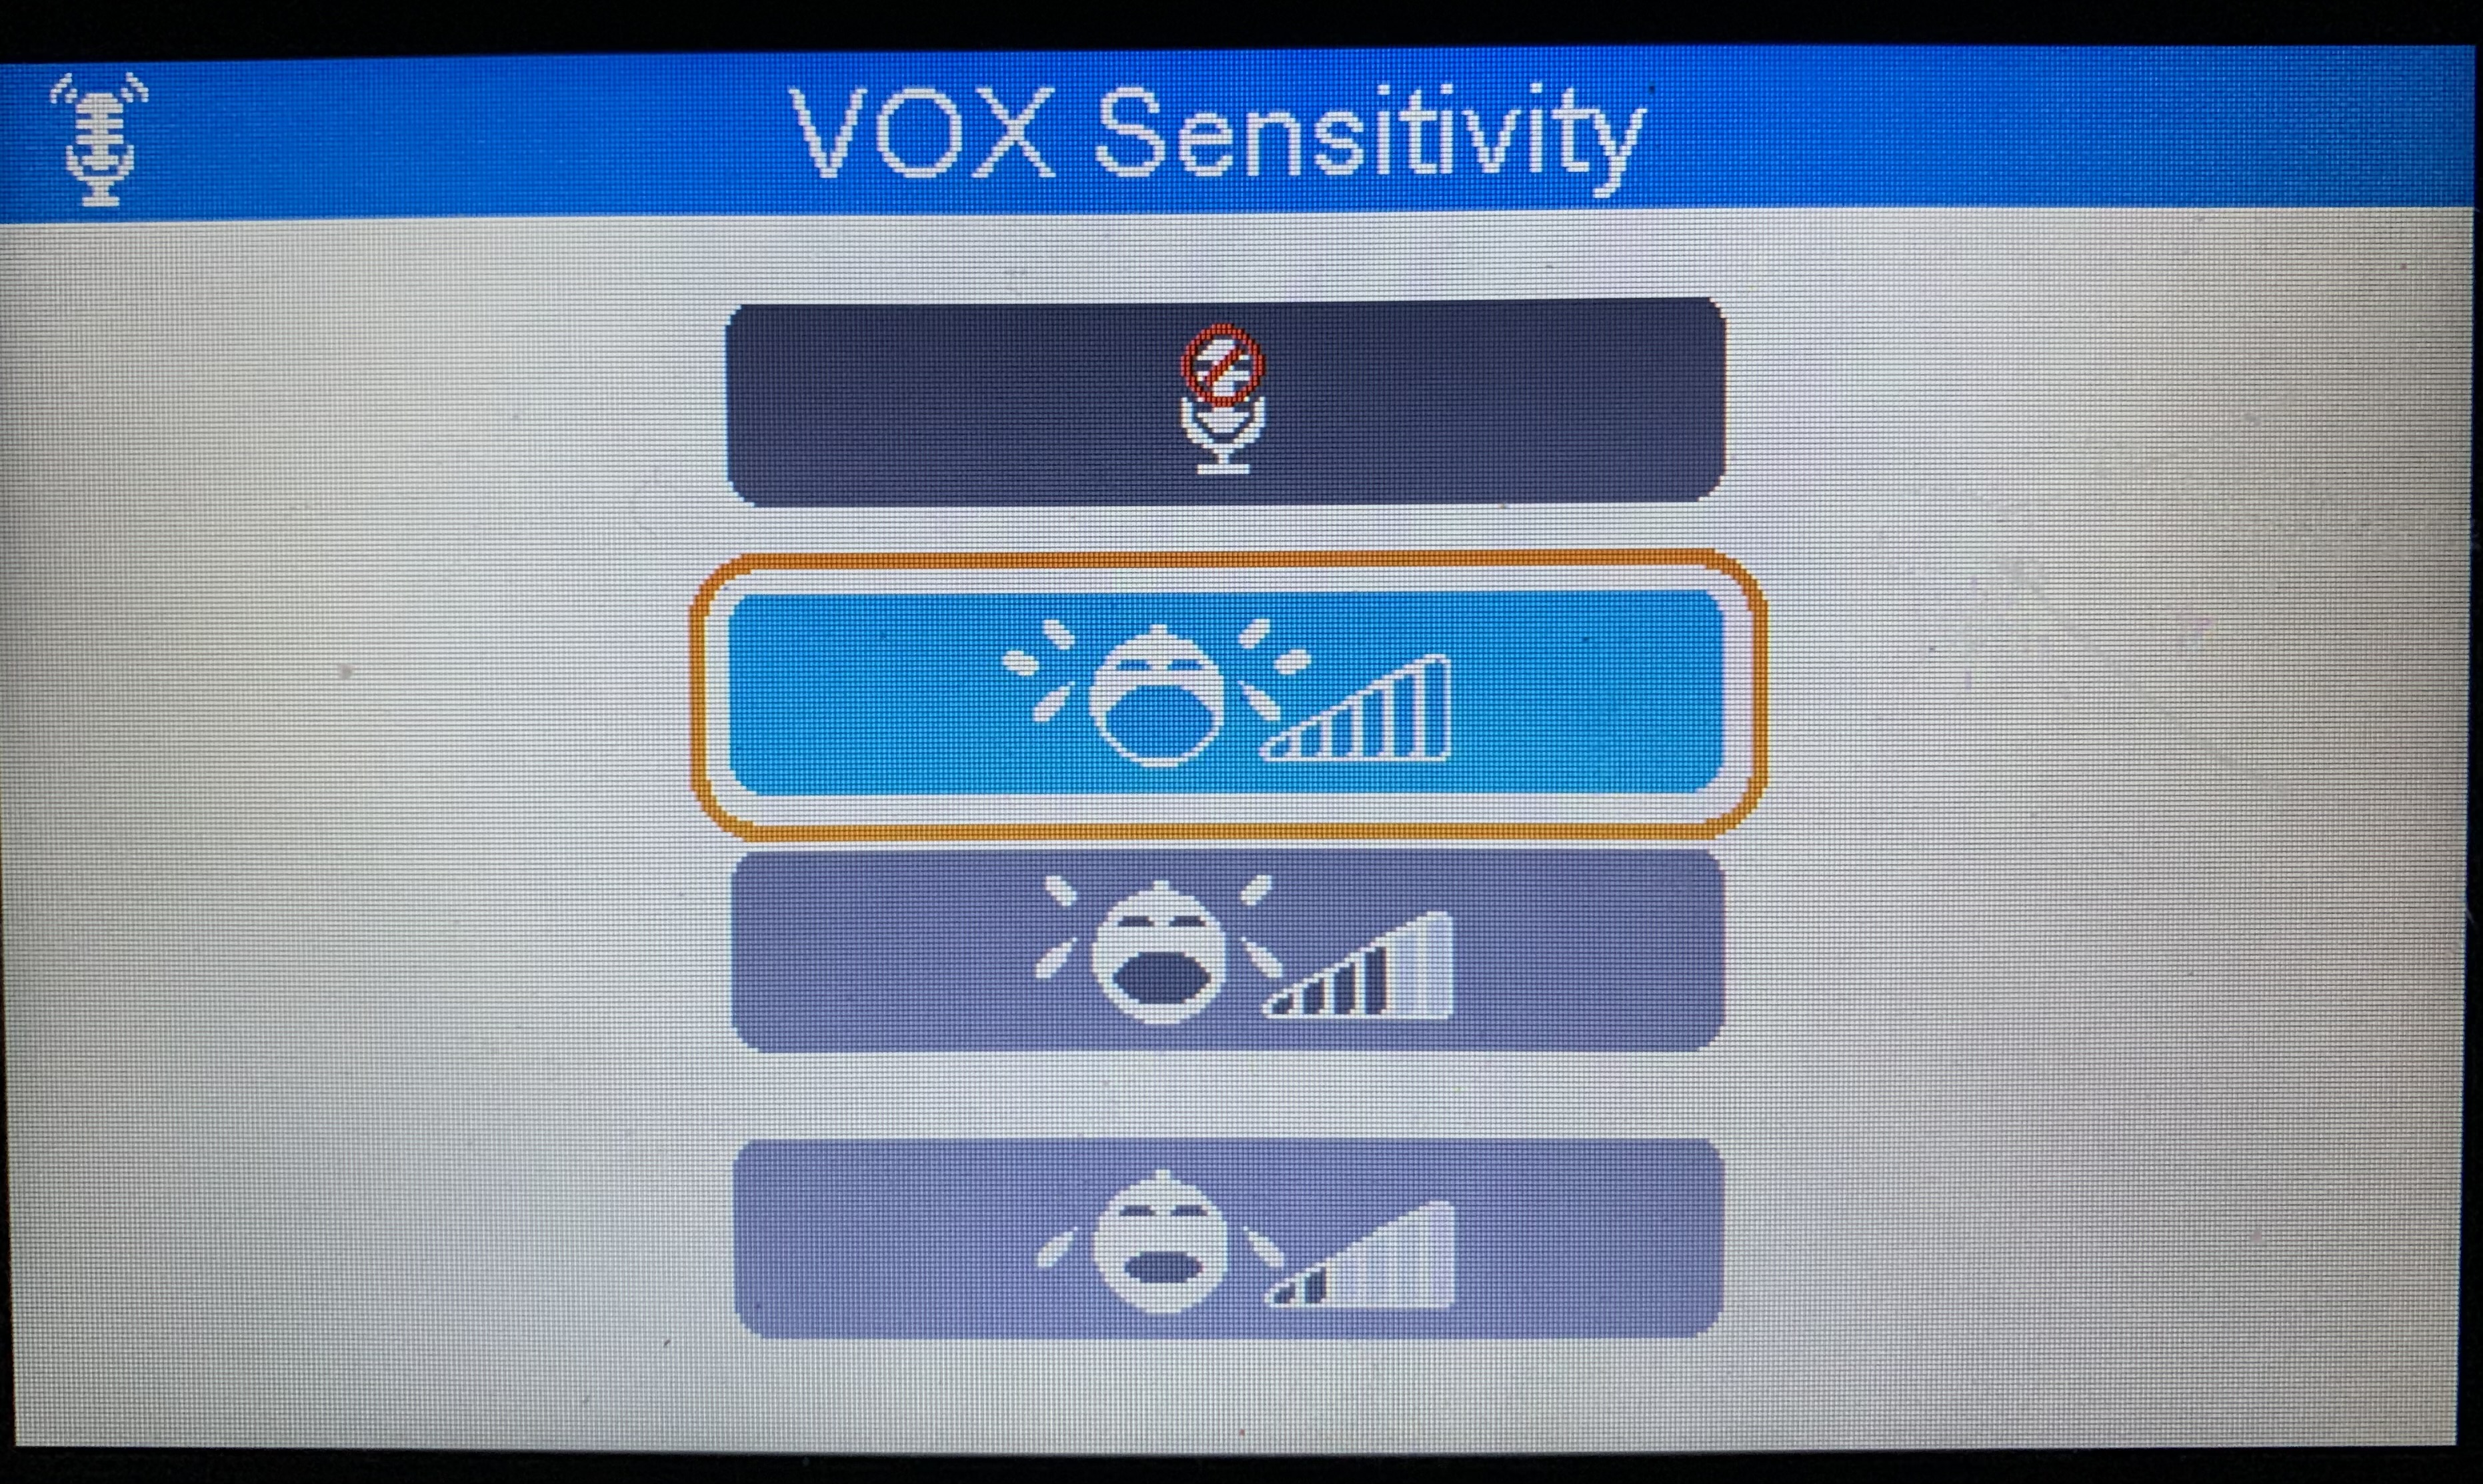
My wife and I were in the market for a new baby monitor. We were looking for something that had a delay wake feature, where the monitor turns on after measuring an average noise level within a period, for example, 60 seconds. The monitor we used for our daughter’s first year was a HelloBaby - a non-wifi, radio-frequency paired camera and 5-inch tablet. The HelloBaby has a VOX (Voice Activated Alert) feature which turns on the screen and volume when it detects noise over a certain level. However, there are only three levels to choose from, and the monitor turns on instantly and does not support delays.

There are a few reasons why a delay alert would be a useful feature in a baby monitor:
- Chirps/screeches: Some babies are noisy sleepers and occasionally let out a single cry then go back to sleep. If you struggle to fall back to sleep after being woken up, these random battle cries can interrupt what would have been a quality night of sleep.
- Babies get bigger: The HelloBaby VOX levels used to work well when our daughter was a newborn. Level three would only activate if she cried loudly, so we usually set it at level two. However, as she grew, her voice also got louder. So the monitor activates even if she makes virtually any sound, happy or sad, even at level three.
- Sleep training: Eventually, babies may need to be sleep-trained, which involves letting them cry for about 10 minutes before soothing them again, teaching them to eventually fall asleep on their own. A delay alert feature with a cooldown timer would allow parents to sleep train without listening to their baby crying all night, and maybe even catch a few Zs between soothings.
We tried to find a monitor with this feature but couldn’t find anything online. My guess for this reason is that manufacturers don’t want to be liable for a misconfigured delay, resulting in parents not being woken up. So the only option is to use a monitor that turns on right away or not to use one at all. After using the HelloBaby for a year, we understood our daughter’s sleeping habits - and believed a delay alert monitor would be helpful. So, we took things into our own hands and built one ourselves.
Disclaimer: If you are a new parent, do not build your own baby monitor or use one you found on a random blog. If you will use a monitor, buy one from a reputable manufacturer with solid reviews and no recalls (and preferably non-wifi for optimal privacy). Once you understand your child’s sleeping habits you can carefully experiment with different monitoring strategies to improve your family’s sleep quality.
Exploring the options
Initially, I wanted to build the entire monitor from semi-scratch, assembling the major parts such as the microcontroller, camera, and microphone in a single unit. The video and audio feed could ideally be accessed via a website, with a page to modify the delay wake settings and control the camera via PTZ (pan, tilt, zoom). After some research, I bought a separate IP camera that supports the Real-time Streaming Protocol (RTSP) to access from a Raspberry Pi. This would be a lot simpler to implement, be less time-consuming, and serve the main purpose of the project.
Ideally, I wanted to use one application to control all aspects of the monitor (delay alert, video/audio monitoring, and PTZ). The simplest option for this was to create a web app that could be accessed via a mobile browser, which serves the RTSP feed from the camera and could control the camera using the ONVIF standard. I looked into existing web-based, open-source security monitoring software like Shinobi, which has already implemented converting the RTSP feed into browser-compatible video formats like MPEG and streaming via web socket connections. However, even after reducing the image quality, the video feed latency was over five seconds since the site was not directly connected to the camera, and the conversion process running on the Raspberry Pi added to the delay.
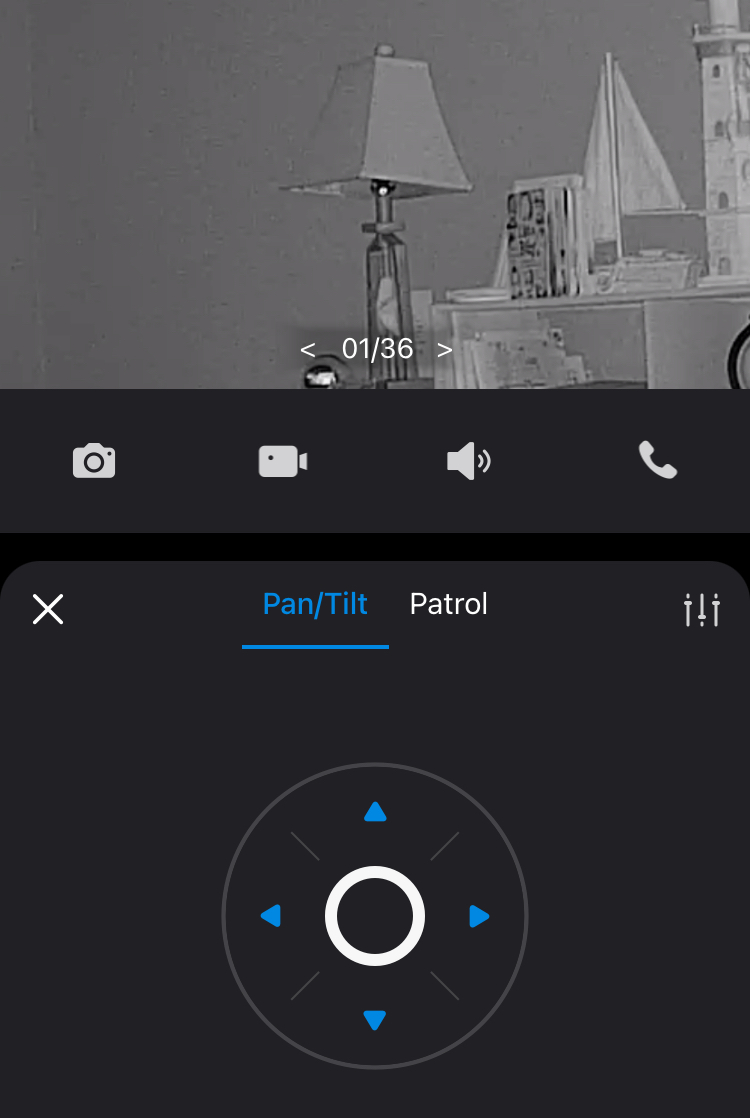
I settled on using an IP camera that included an RTSP server available to the local network to access the audio data and building a separate website for managing the delay alert settings running on a Raspberry Pi. The camera I settled on was the Tapo C201, which is marketed as a standalone baby and pet monitor. The camera is made by TP-Link, a company with a mixed reputation that just this year relocated its global headquarters to the United States and Singapore from China. From my basic investigation, TP-Link, like many other home automation companies, has had security issues in the past. However, their products are also of decent quality and generally respected. Regardless, I blocked the camera’s outbound internet access on my router’s firewall so paranoia about spying and backdoors wouldn’t be an issue. After configuring the camera’s RTSP credentials and connecting it to the Tapo mobile app, I could access the camera video feed and control its movement from my phone via the LAN. If I tried to view the camera off WiFi I wouldn’t be able to since the camera can’t call back to Tapo servers.


Setting up the alert system
Since the delay alert settings and camera feed would be accessed using our phones, it made sense to also be alerted on our phones. The simplest option for this was to receive a phone call when the average volume threshold was exceeded. Twilio is a cheap and popular VoIP provider, so I created an account and rented a phone number which costs $1.15 per month in addition to $0.004 per call. After setting up the Twilio account it is simple to make calls using their Python SDK.
from twilio.rest import Client

twilio_client = Client(
    TWILIO_SID,
    TWILIO_AUTH_TOKEN
)

call = twilio_client.calls.create(
    url='http://demo.twilio.com/docs/voice.xml', # Default Twilio call script
    to="+"+MY_PHONE_NUMBER,
    from_="+"+TWILIO_PHONE_NUMBER
)
Ironically, Twilio’s demo script plays one of my favorite songs when you answer the call. I saved the number in my phone’s contact list and allowed it in my Do Not Disturb settings so I could be alerted at night when the threshold was exceeded.

The go-to utility for analyzing raw audio data from RTSP streams is FFmpeg. The following script starts an FFmpeg process that samples the camera’s RTSP stream at 44,100 hertz, converting it into PCM (Pulse-code Modulation) values. The values are then measured twice per second, resulting in arrays of 22,050 values, which can be analyzed to determine the sound level each half second. The first ten values of each array are printed.
import subprocess
import numpy as np

cmd = [
    'ffmpeg',
    '-i', "rtsp://username:password@[CAMERA_IP]:554/stream",
    '-acodec','pcm_s16le','-ar','44100','-ac','1', '-f', 'wav','-'
]

process = subprocess.Popen(
    cmd, stdout=subprocess.PIPE, stderr=subprocess.PIPE
)

sample_rate = 44100 # hz
measure_rate = 2 # hz
chunk_size = int(sample_rate / measure_rate)

process.stdout.read(44) # skip wav data header

while True:
    raw_data = process.stdout.read(chunk_size  * 2) # 16-bit: 2 bytes per sample
    audio_chunk = np.frombuffer(raw_data, dtype=np.int16)
    print(f"{audio_chunk[:10]}")
Sample output from running the script for about 15 seconds is shown below:
[8 8 8 8 8 8 8 8 8 8]
[8 8 8 8 8 8 8 8 8 8]
[8 8 8 8 8 8 8 8 8 8]
[ 21  18  14  10   5  -2  -9 -18 -29 -41]
[ -72  -71  -70  -71  -75  -83  -95 -112 -132 -154]
[-3151 -2398 -1713 -1140  -710  -440  -330  -367  -517  -738]
[ -66 -178 -279 -364 -425 -460 -466 -446 -401 -339]
[-12509 -11701 -10791  -9852  -8947  -8122  -7399  -6777  -6233  -5722]
[-103 -134 -144 -132  -98  -47   14   76  131  170]
[8 8 8 8 8 8 8 8 8 8]
[8 8 8 8 8 8 8 8 8 8]
[8 8 8 8 8 8 8 8 8 8]
[8 8 8 8 8 8 8 8 8 8]
[8 8 8 8 8 8 8 8 8 8]
[8 8 8 8 8 8 8 8 8 8]
[8 8 8 8 8 8 8 8 8 8]
[8 8 8 8 8 8 8 8 8 8]
[8 8 8 8 8 8 8 8 8 8]
[8 8 8 8 8 8 8 8 8 8]
[18 15 11  9  7  7  8  9  9  8]
[2061 1977 1904 1844 1800 1771 1751 1736 1719 1694]
[ 576  464  345  221   92  -40 -174 -308 -440 -570]
[-1908 -2015 -2082 -2111 -2104 -2067 -2010 -1942 -1875 -1821]
[-245 -175 -109  -65  -56  -94 -176 -295 -434 -570]
[-2421 -2222 -1996 -1743 -1470 -1187  -908  -645  -412  -219]
[ 538 1540 2423 3147 3683 4013 4138 4071 3842 3490]
[ -9213 -10420 -10906 -10733 -10020  -8922  -7598  -6194  -4822  -3558]
[3924 3343 2709 2074 1488  992  612  361  236  218]
[ 46  37  26  14   0 -15 -29 -42 -51 -56]
[8 8 8 8 8 8 8 8 8 8]
[8 8 8 8 8 8 8 8 8 8]
[8 8 8 8 8 8 8 8 8 8]
[8 8 8 8 8 8 8 8 8 8]
[8 8 8 8 8 8 8 8 8 8]
[8 8 8 8 8 8 8 8 8 8]
The beginning, middle, and end of the output represent relative silence. The two chunks of variable data arrays represent short noises made near the microphone. Each value represents the direction and magnitude of the sound waveform around the microphone. Positive values indicate positive air pressure (moving inward) and negative values represent negative air pressure (traveling outward).
In the final version of the monitor, an FFmpreg process is spawned using subprocess, and its output is sent to a named pipe which is accessed by Python. For some reason that I was not able to figure out, whenever the standard output was retrieved directly, the FFmpeg process froze exactly six minutes after being launched. This occurred if I used the ffmpeg Python library or read the output from a subprocess. The FFmpeg process itself was still alive, and when I launched FFmpeg manually from the command line, it didn’t stop after six minutes, so there was no issue with the RTSP stream from the camera. Reading the audio data from a FIFO file was the solution to prevent the process from freezing, although I’m still unsure why retrieving the output from the subprocess directly was an issue, and why it froze exactly at six minutes every time. The below code snippet demonstrates implementing FFmpeg using standard file IO:
import subprocess
import numpy as np

cmd = f"""
    ffmpeg -i {rtsp_url} -f wav \
    -acodec pcm_s16le -ac 1 -ar 44100 -y \
    /tmp/audio_monitor_fifo > /dev/null 2>&1 &
"""
subprocess.Popen(cmd, shell=True)

with open('/tmp/audio_monitor_fifo', 'rb') as fifo:
    fifo.read(44)

    CHUNK_SIZE = int(44100 / measure_rate)

    while True:
        in_bytes = fifo.read(CHUNK_SIZE * 2)
        audio_chunk = np.frombuffer(in_bytes, np.int16)
        check_audio_levels(audio_chunk)
To calculate the average volume level over a period, the audio chunks are averaged and normalized into an amount that could be easily interpreted. To determine the “average” value of a set of numbers that oscillate around zero, you can calculate the root mean square (RMS). In this context, the RMS is more useful than the mean of the absolute values since the power of a sound wave is proportional to the square of its amplitude, and squaring the values makes the calculation more sensitive to larger values, lending weight to spikes. The following script computes and stores the RMS values of the audio chunks calculated in the previous script, and then triggers an alert if the average volume level exceeds 300 over 10 seconds.
import np
from collections import deque

window_size = 10 # seconds
measure_rate = 2 # hz
audio_levels = deque(maxlen=window_size * measure_rate) # 20 values

while True:
    audio_chunk = get_audio_chunk()

    normalized_array = audio_chunk.astype(float) / 32768.0
    rms = np.sqrt(np.mean(np.square(normalized_array))) * 1000
    audio_levels.append(rms)

    if len(audio_levels) == audio_levels.maxlen:
        window_avg = sum(audio_levels) / len(audio_levels)
        if window_avg > 300:
            sound_the_alarm()
The PCM values are 16-bit signed integers which range from -32768 to +32767 since pcm_s16le was specified in the FFmpeg arguments. Dividing the values by 32768 scales them to be between -1 and 1. The RMS of the array is then multiplied by 1000 to convert it into a value that is easier to become familiar with. For our camera setup, the volume levels max out at around 400 when Baby is crying. Since the values were multiplied by 1000, this can be interpreted as about four-tenths of the maximum volume the microphone can measure. More importantly, 400 is an easy number to remember, as opposed to something like 0.16 or 13000, demonstrating the benefit of normalization.
The RMS values are stored in a dequeuing array, which removes the first value when a value is appended, so the array never exceeds its max length. The size of the array is equal to the measured rate (per second) multiplied by the measuring window (seconds) to ensure the array contains every measurement taken during the window. When the average of the array exceeds 300, the call is made.
Creating the configuration panel
The settings website to manage the delay alert monitor could be created once the alert system logic was finished. Front-end development almost always leads back-end development, since the UI declares what the application can and cannot do. The backend web framework I used was ole reliable Flask, which was easily interoperable with the alert system logic written in Python. Flask is one of the most popular web frameworks for making simple websites since it’s so darn easy to learn. As I began adding features to the website, I implemented their logic in Flask. This iterative development process made things easy to test and debug and is much faster than building out the full page before starting on the backend.
I feel obligated to mention how much of this project was assisted by generative AI, specifically Claude and ChatGPT. Unfortunately, this was not a project that could be written entirely by AI (that would have saved me several hours). However, AI saved countless hours I would have spent trying to configure minutia like reading FFmpeg output data or creating a mobile-friendly website. Generative AI has made small projects like these (and learning pretty much anything) so much more approachable, and I could spend more time focusing on what I wanted the final product to look like than trying to center a div.
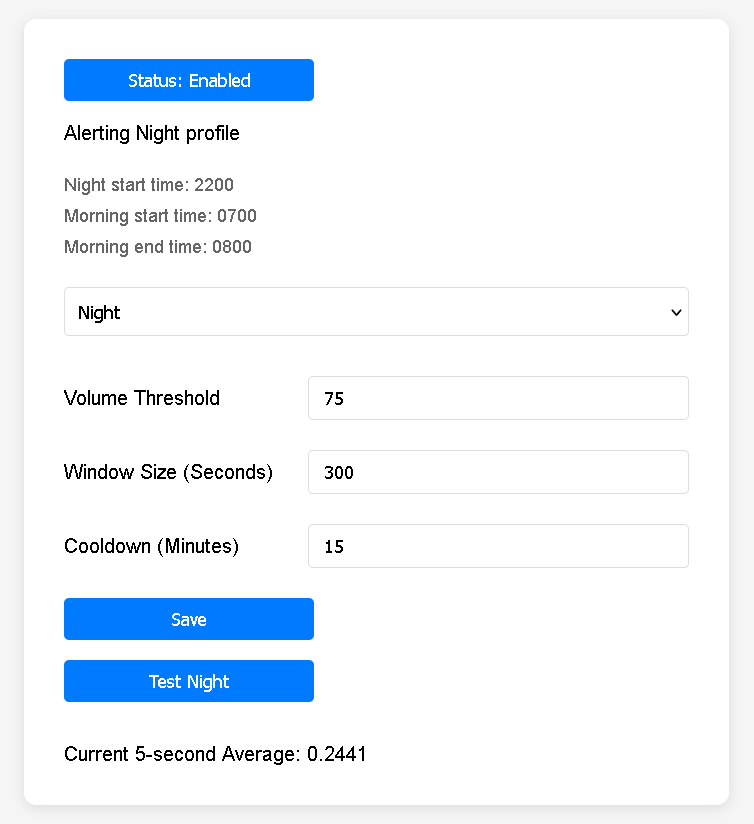
Here is a screenshot of the final version (for now) of the configuration panel:

The final features are as follows:
- Two profiles, night and morning, with different thresholds, window sizes, and cooldowns
- Alerting only takes place if the current time is in one of those phases
- The monitor can be enabled or disabled, pausing alerting
- Test button to activate alerting even if not in the morning or night phase
- Current 5-second average volume updated every half second to show somewhat real-time noise levels
The phase start/end times and phone number that is called should ideally be adjustable from the UI (they can be changed in the configuration file) - I’ll get around to that eventually. In the screenshot, the current 5-second average is 0.2441, the value displayed when the microphone measures silence. This checks out with the PCM arrays of eights in between the noises from the FFmpeg script output. The RMS of a set of eights is eight, the RMS is multiplied by 1000 and divided by 32768 when normalized, so 8*1000/32768 equals 0.2441.
Testing in production
After finishing the audio measurements and displaying the 5-second average on the site, I would occasionally check the volume level when Baby activity was occurring by the camera to get an idea of what to set as a reasonable threshold. Although I determined that 300/400 was about what the volume got up to when she was crying, that isn’t what the threshold should be set to if the window size is at least a few minutes long. The longer the window size, the more variance in the volume levels in the array. If the threshold is set to 300 for a 300-second window, that would require her to be screaming literally non-stop for 5 minutes straight, which thank God is not how babies cry.
Once the initial version of the monitor was complete, we slept a few nights using the alert system in conjunction with the old monitor just in case the threshold was set too high. After a few days of testing, we settled on a threshold of around 75 for nighttime and morning, with different window sizes. Since our daughter sleeps through the night now, we try to give her enough time to fall back to sleep on her own if she wakes up. We determined that a volume threshold of 75 for a five-minute window size will alert us if she has been crying at a normal level for about five minutes and probably isn’t going back to sleep without a soothing. Our morning phase window size is set to one minute since morning time is go-time for Baby and she won’t be going back to sleep any time soon.
Conclusion
The source code repository can be found here and has simple setup instructions to get up and running with the delay alert monitor. So far it’s worked out pretty well for us, and we don’t worry about random wakeups at night from our old monitor being triggered briefly. If you use this tool and have suggestions or find it useful, please let me know. I fully expect us to be the only ones to ever use this but if it helps someone else too that would be really cool. Anyway, I hope you enjoyed this write-up, thanks for reading! ![]()
